Tuesday, December 18, 2012

cigar box guitar rewards

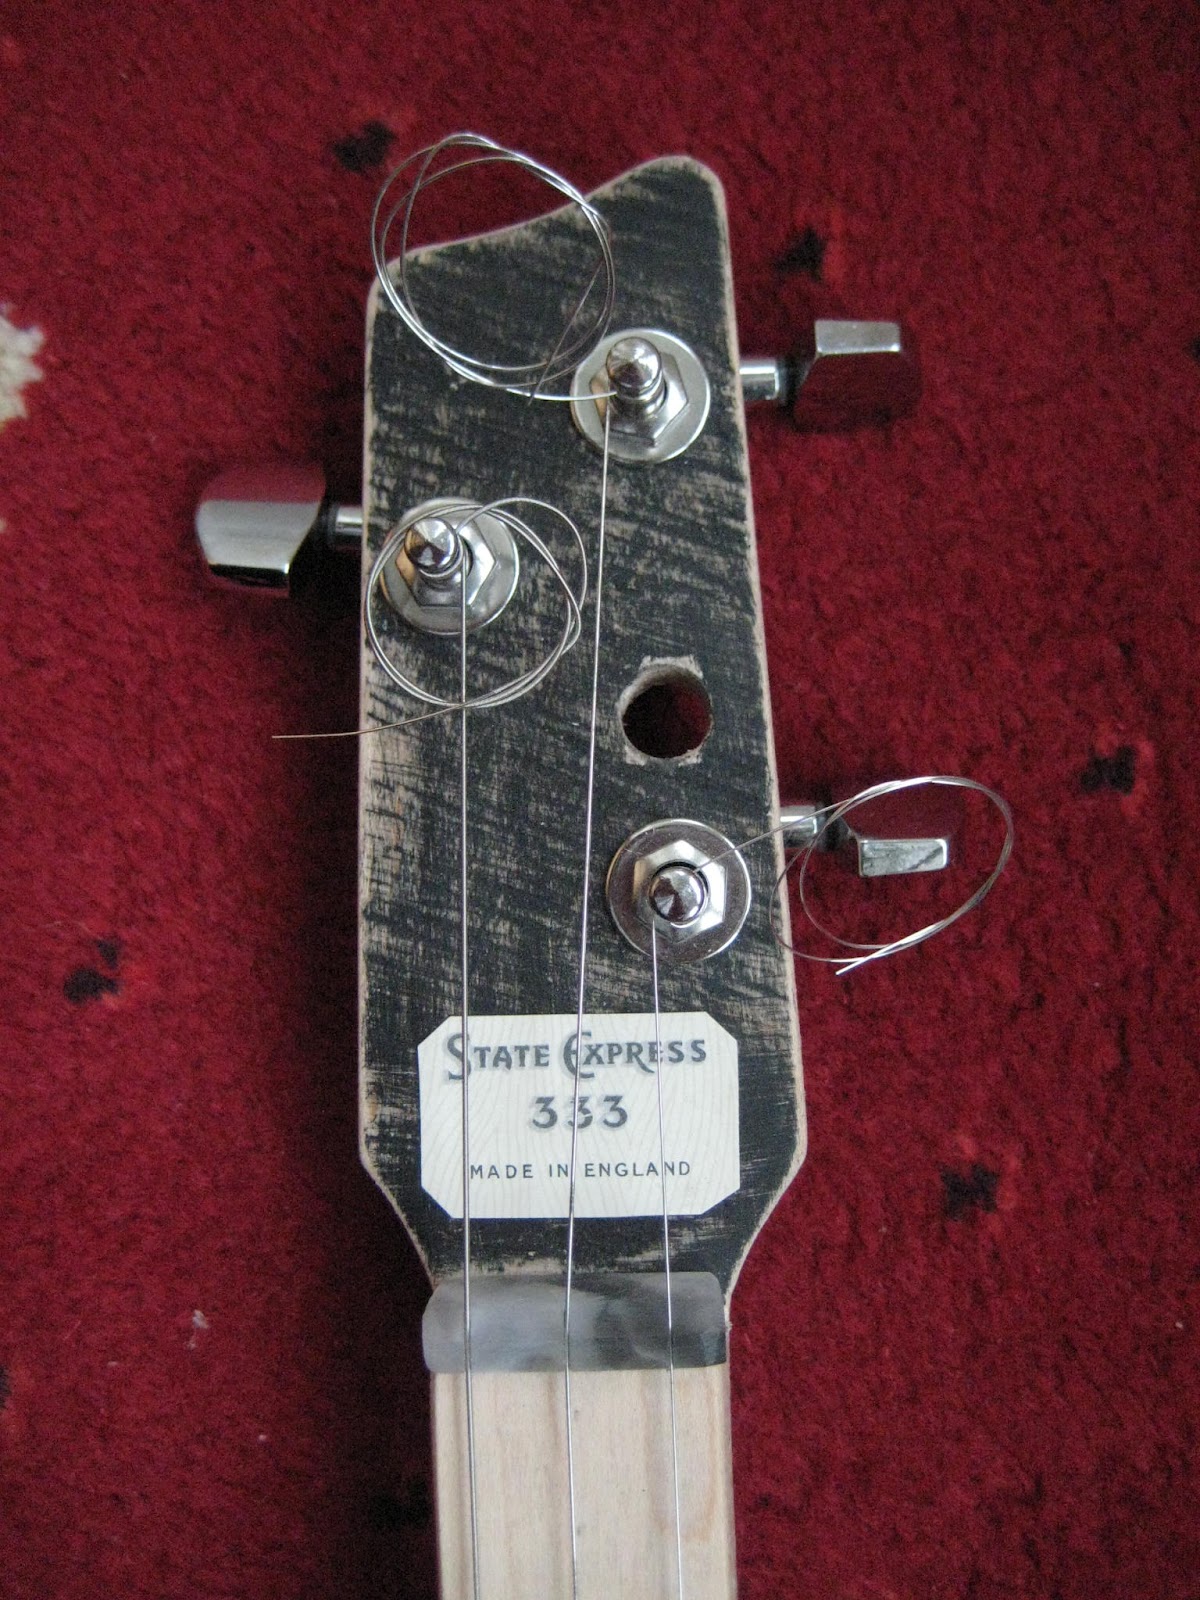
I mentioned in my last blog that some of the rewards of being involved in this cigar box guitar thing, have been the feedback and interaction with other people who have read or seen my postings. I mentioned a young lady (Lorraine from Ireland) who has taken the subject up as part of her college course and wanted to talk to me about it and use it as part of her thesis. This is fantastic. She phoned me to ask about intonation as she had built her first guitar and although it was playable, the intonation was wrong and the octave was turning up at the 14th fret instead of the 12th. After some questioning, we realised that she had had missed the point of having a bridge or saddle - effectively the anchorage of the strings at the tail end were her bridge, allowing it to be played still, but making the scale length too long. The addition of a saddle/bridge, set a few centi-metres forward should correct this. We had a good long chat and a few laughs and I really enjoyed talking to her. She has kindly allowed me to mention her and post a picture of her with her newly built, first cigar box guitar. Notice the knitted snowman in the bottom right with a big grin on his face. Looks like he's jamming along with an Irish tin whistle! Looking forward to seeing your next build Lorraine and maybe hearing you play it?


The way I normally set my neck, fretting, saddle position etc is quite simple. I have a long narrow piece of mdf with the fret positions drawn on (I always use the same short scale). I also have marks where the nut will be and where the bridge/saddle position should be (twice the distance of the nut to the 12th fret). Before I even start to cut the neck and because cigar boxes vary so much in size, I use the template against the box to size it up and make sure the bridge will be somewhere near where I want it (which is usually about 1/3 of the length of the box from the bottom edge). I can them see how long the whole neck need to be, allowing a few cms for the tail to stick out when using a through neck design and adding about 140mm to the top of the neck for the headstock. Also I can see where the 12th fret will be with regard to the top edge of the box. That's not so important - more for working out the aesthetics of how it will look and how many frets I might want in total. I always use a floating bridge rather than gluing it in place so I can adjust the intonation easily. Once you've built the guitar and strung it up you can place the bridge where it ought to be as a starter, then with a tuner, move it either backwards or forwards until you get the octave of the open string correct at the 12th fret. Hope this helps.

7th anniversary of my first cigar box guitar

Just looked back and realised it's seven years since I started on this CBG path.  I spotted my first one on Ebay and loved the look of it, knew nothing about them but wanted it. My wife bought it for me for Christmas. As they say the rest is history. In that time I've had some fantastic fun with them, made some great friends - one in particular has become a best buddy. Been instrumental in getting the UK CBG fest established and had some cracking events with them (most credit due to Chickenbone John, who incidentally was the guy who made my first one). I've had some of my guitars photographed with a couple of minor celebrities, had a backstage tour and free tickets to the Buena Vista musical show, rekindled my interest in electronics, sold some stuff which has funded the purchase of more gear to add to my collection. It's been one of the best journeys I've made.

Now I know I've been very quiet on the CBG front this year. That's been down to a few reasons. Busy building my own 6 string reso, building a DIY synth box and just to keep me occupied in between, we have had to deal with the deaths of two close members of the family, and three other members being hospitalised involving us with a helluva lot of visting. 2012 has been one helluva year for us but ... I'm still here and though I haven't anything new to report on in CBG world, as it's coming to the end of the year, I just wanted to reflect back and also say a big thanks to all of you who have taken the time to read my ramblings, report back to me and give me your support. Now this is not meant as "own trumpet blowing"  but I have to say these are the real rewards for me, trivial as they may seem it's just great to know my efforts haven't been a waste of time and might have helped uplift and inspire others to find their passion too. It's that passion that helps to make life fun and help get you through the rough times.

I started writing this blog and posting on Youtube because I was just incredibly enthusiastic about the subject and wanted to tell others who might want to know more. One of the best parts of finding something that fires your passion, is being able to share it with like minded people. I've had some great feedback from people who have seen my stuff and written to say how how they enjoyed it and in some cases, inspired them to get involved themselves. One man told me how it had turned his son's life around, given him motivation. Another young man wrote asking lot's of questions, then having been inspired by building cigar box guitars, went on to do some luthier courses and started building his own plastic bodied 6 string electrics based on the old Airline guitars of the 60s - and what fabulous guitars he made! Recently a young lady contacted me to help her on a cigar box guitar project she is doing as part of her college course (more on that in my next blog).

So let's hope we can keep this fire going, enjoy our cigar box guitar adventures and have fun. Hope you all have a great Christmas and that Santa brings you some nice cigar box related toys.

Sunday, September 30, 2012

the 333

Right then. I'm calling my solid bodied three stringer the "333". I found some old cigarette packet fronts and decided to decorate the guitar with something. The one I liked is called "State Express 333". I thought that sounded cool for a three-stringed guitar so I stuck one under the strings, a piece of another on the headstock and just to add some mojo to the back, I made a stencil and sprayed 333 on it. The whole idea of this guitar was to make a well made and great sounding guitar but not to over-design it. To make it look like it was just thrown together quickly. The pieces of wood I bought had the price stamped on it which I left on so the 333 sort of echos that theme. The hole in the headstock is a result of shearing off one of the screws that hold the machine head in. I couldn't get it out so decided to reposition it and drilled a new hole. I kinda like the fact that it's got a hole that shouldn't be there. I might stick something interesting in it eventually. Been playing it again today and it's an abolute cracker. Here's some photos. Got to do a vid of it so you can hear it.


Saturday, September 29, 2012

three string cigar box guitar style electric guitar

I've been calling it the plank so far but I'm gonna rename it. Anyway it's more or less finished. Just a few cosmetic touches to add to make it a bit more interesting. It's a bit of an ugly, weird looking thing but it's a little cracker. I wanted it to look like it had been thrown together from bits and pieces but with a decent fretted neck and decent (non piezo) pickup so it plays and sounds real good. And it does. I fitted a cheap Ebay-bought humbucker and just a volume pot.nI'm well-pleased with it. Put through a distortion pedal it sounds real dirty and wicked. When i get time I'll take some decent photos and hopefully a vid to put on Youtube.

Life has been manic again for the last couple of months with a death and two hospitalised family members to visit, so it's an achievement that I managed to get anything done.

I haven't even told you about our 4th annual CBG fest at Manchester a few weeks ago have I? Call back in a short while and hopefully I'll have had time to post something here.

Friday, August 17, 2012

Back on the cigar box guitar wagon

It's been a while since I did much building  in the cigar box guitar world so i haven't written much here. Other things have taken priority for several months. One of those was building my own solid-body 6 string reso which I absolutely love. The knowledge gained from that has made me re-think my cbg building ideas. I really like playing with three strings in open tuning but want a bit more quality from my instrument than I previously had. I want frets and a decent sounding pickup now so my next build will have to incorporate those. I also decided I'd like to have a crack at making another conventional 6 stringer but on my own this time.

So I decided it will be a Les Paul junior - cos there cool and simple instruments. So I headed off to John Boddy timber yard to buy some wood and while I was there I found a small plank of pippy/burr oak. It has a swirly, knotty and cracked grain which is loved by wood turners for making decorative items. I figured it would make a cool solid-body, cigar box style, three stringer which would be a good practice project before attempting my LP junior. So that's me back in the land of CBGs (OK it's technically not a cigar box guitar but who cares - it'll fit in nicely with my collection and should sound and play damn fine).

I started on the body yesterday. Cut the plank down to a cigar box size first. The plank had a big curved crack in it, which I didn't mind, but when cut to size was going to leave a piece flapping about. I decided to let the wood dictate the shape of the body by hacking it off.  Then I hacked away with a gouge chisel all around the other sides to create a really rough looking plank and just lightly sanded it to take off the splinters. It now looks like a piece of driftwood. The wood has various ink stamped markings on it which I am leaving on. Next job is to make a template to route out a neck pocket. I think it'll have a single humbucker with a volume control and keep it really simple. I'll post a photo here soon.

Tuesday, July 10, 2012

guitar build update

Once again my apologies for taking so long to get back here. Still busy sorting out my departed uncle's affairs. Wow doesn't time fly. Well the guitar is 99% finished and I've been playing it for a few weeks now. I'm just waiting for the Highlander cone pickup to arrive. When it does I'll have to remove the strings, plate and cone. All the wiring is pretty much in place ready for it. At the same time I need to raise the action a little at the saddle end and fit some heavier strings. I fitted 12s but with the action as low as it is and the tuning dropped down to open D, there isn't enough tension on the strings for easy and clean slide work (which is what I mainly built it for). I've got some 15s - yes that's right 15s but that is pretty normal guage for slide players. I'm very happy about the guitar and still can't keep my eyes off it. I'll post some more deatils about the last few build sessions but for now I'll leave you with a (rather poor) photo of it. In reality it looks 10 times more beautiful.

Tuesday, April 17, 2012

guitar builds 10 - 13

Apologies for leaving you hanging for a while. We had a death in the family and that has taken over my life for the last 6 weeks. So here's a mini report of the last 4 sessions.


Session 10 - routed the cavities for the pots to go in the upper and lower bouts of the body.
Session 11 - routed channels from pot cavities to cone chamber for wiring, drilled hole for jack socket and drilled soundholes in back of body. made small blocks and glued them in the cone recess to support it at the correct height.
Session 12 - Fine sanded neck and body then rubbed thinned down nitro-cellulose lacquer into body (two coats to seal it) and about 6 coats on the bak of neck and headstock. Fine wire wool brought the neck up as smooth as a baby's bum - nah smoother.

Session 13 - one of the scariest - spray painting the body and headstock front. About 10 coast at 15 minutes intervals to build up a decent thickness. I was worried about my crappy spraying techinique causing nasty runs on the guitar and sure enough I managed it. Martin assured me it wasn't a problem as we'll rub it down flat before finally polishing it to a high gloss. seems hard to believe it possible but I've seen his finished results and have confidence it will all be fine.


Monday, March 05, 2012

guitar build session 9

Missed another week but last wednesday I was back in the workshop with Martin my luthier/tutor. More neck work. A slight radius was sanded on the fretboard surface. Next, the frets. Starting at the body end of the neck I cut pieces of fretwire allowing a couple of mm overhang. The pre-slotted slots were gently cleaned of sawdust with a fine saw blade. The fretwire was gentyl presses into the slot. Using a small hammer head as a sort of punch, with masking tape to cushion it, using a mallet, the frets were tapped into place starting at one end and working across the face to the other end then the surplus snipped off. The ends of the frets are prevented from springing up with a drop of superglue on the them which sort of gets sucked into the slot. The hammer head was used to apply pressure for about 30 seconds until the glue had set. When all fitted, a file was used to smooth the ends flush with the neck edge. Then running the file lengthways at an angle, a bevel was put on them. The rest of the session was used to further shape the back of the headstock. Photos to come later.

Monday, February 27, 2012

new music track

At last I've been able to do some recording again. Been so busy with making amps and stuff that music making has taken a back seat. I started a project with a pal a while ago. He sings in a band called The Choppers who are out in Cambodia. He had a song idea and we played around with some riffs and managed to knock out a punky/rocky/bluesy sort of number. Took a few takes and it's a bit rough and ready (as I like it). Two guitar tracks on it are played on one of my CBGs and the vocals were done through my ex-military bakelite headset mic - hence the thin sound quality of the vocals. I've put it upo on Soundcloud - here's the link if you want to listen to it.

http://soundcloud.com/smojomusic/mayday

Thursday, February 16, 2012

guitar build session 8

Missed a week of building last week. This week it was all on the neck again. Final filing of neck back profile and sanding to a nice finish. Drilled out holes and installed the mother of pearl fret marker dots and edge dots. Drilled out holes for machine heads. Still a fair bit to do but I put the body and neck lossley together so I could see what it's looking like. Starting to get exciting now.


Wednesday, February 08, 2012

turning vintage radios into amplifiers

So as well as building a more conventional 6-stringer guitar, you might be pleased to hear about something more in line with cigar box mentality - i.e. taking something that was meant for another purpose and making it into something more fun and appropriate for making your own music. My latest adventure is taking old vintage radios from the 60s and 70s, hacking into the wiring, adding a 1/4 inch jack socket and turning it into a small amp. These things are so cool, why has it taken me so long to get into it? The older radios like these have a fairly decent power output. At half volume with a guitar plugged in they have a pretty clean sound but crank them up full and they overdrive nicely - rather like a small valve amp. Loud enough for your home and maybe enough to annoy the neighbours. They make great practise amps but just look so cool. I've done a few videos, take a look and see what you think. This one is a "keeper" though!


guitar build session 7

I'm a week behind posting this and this week I will not be doing any work on it. So last week was all about the neck again. The fretboard had been glued on so now needed trimming back to the neck profile using the router table and a small cutter with wheel guide following the shape of the neck. The body end of the neck cut to the correct length and shaped to fit the body "pocket". So now I could put it in place and see how the guitar is shaping up as a whole.


I spent the rest of the session roughing out the back of the neck. We drew lines down it at specific points as a guides to cut back to. Just using a spokeshave and a coarse rasp, I reduced the back of the neck to a sort of triangular profile. The ridge of that was taken off leaving a sort of flat topped triangular shape, then those two ridges taken down so we now have an approximate D shaped profile. I ended the session there. Doesn't sound much but it was four hours of hard graft. I reckon we might be about half way through the project now.


Monday, January 30, 2012

guitar build session 6

All about the neck this week. First job was to attach headstock template, then using a rasp bit in a table mounted router, to route the shape of the headstock around it. Then attach a straight edge template along one side of the neck and route that down to size, same with the other edge. Then some real hard work. To shape the back of the angled headstock roughly, I used a gouge chisel to chop away the surplus, then took it down to almost final shape using a hand rasp. Next we took a lot of the surplus off the back of the neck with an electric planer.


Next job was to route a narrow channel for the truss rod. Just wide and deep enough to take it with very little space around it. We put in the dual action rod then glued and clamped the fretboard in position. Doesn't sound a lot but it took the whole afternoon. Here's a photo just before we put fretboard on.


Thursday, January 19, 2012

guitar build session 5

Had my 5th session yesterday. Feeling very tired this week after many hours of sanding down walls and woodwork in my lounge ready for redecorating, plus running around hospital visiting. So it was a welcome return to sanity but at the same time, I couldn't put 100% into the sawing and sanding that was involved. This week involved fixing small templates to the body to route out neck pocket and a cavity for the lipstick neck-position pickup. I'm starting to gain confidence in the use of the router, always had a slight fear of them based on my lack of experience. The key to it is to only take small 2-3mm cuts each time.


Next we started on the neck. I'd bought a hefty plank of maple. We drew on the approximate shape and as the plank is thick enough, decided to make it a one-piece neck/angled headstock. So we marked on the angle of the headstock and rough planed the bevel that will be the top of it. The idea is to cut away most of the surplus wood first with a jigsaw, then make the final shape with router and spokeshave. Attempting to rip down the length of the neck proved a bit of a disaster. I broke two jigsaw blades and was just getting nowhere. Maple is a very hard wood! I suggested we end the session early and I would take the plank back to my workshop to rip down on my bandsaw. We did a few other small jobs - cutting the pre-slotted fretboard to length and marking a few things up to round off. Progress a bit slow but still satisfying. It's hard to see the light at the end of the tunnel yet as there is a lot to do but I rest assured and imagine the day when I will take the finished guitar home, plug it into my new vox valve amp and enter the kingdom!


Tuesday, January 17, 2012

guitar build session 3 and 4

So I need to catch up on my posting for the reso guitar build. Session 3 we fixed the template to the body with a couple of panel pins in places where the hole won't show. Using the router, I followed the contour of the template, taking about 2 mm off on each pass until eventually I had almost cut through the block. We then turned it over and using a router bit with a wheel guide running along the new shaped edge, I cut through the remaining bit and seperated the new body shape from the block. At last it's starting to look like a guitar. Next job was to cut a hole in the template where the cone is gonna sit. I took the body home to do some homework on it over the Christmas perion. Basically just rough drilled the main part of the cone well out using my drill press, to save effort on the router.

Session 4 - we attached the template again and now following the hole we had cut in it, slowly routed out the well for the cone. We also rough sanded the front and back to get a flat surface across the whole body. We then used a small concave router bit on the outside edges to produce a gentle rounded prifile. I took it home again and spent about an hour sanding down the outer edge and front and back nice and smooth. Next session we start on the neck.